{{ quickViewProduct.product_title }}
Stock ID
{{ quickViewProduct.product_stock_number }}
Product Features:
- {{ feature.product_feature_description }}
{{ option.product_option_title }}
{{ value.product_option_value_title }}
{{ quickViewProduct.product_stock_number }}
{{ value.product_option_value_title }}
Multilink’s Hardened Ingress Protection (H IP) Connector provides the perfect solution for drop fiber deployment by preventing issues like drop damage, environmental damage and connection failure. They allow installers to terminate four different styles of bulk fiber in the field: flat, round, ROC™ drop and Multilink’s proprietary SpeedFlex®.
One of the H IP Connector’s defining features is ease of installation: it can be installed on the back of any technician’s truck in five simple steps that take less than five minutes. Multilink even offers a field installable tool kit that comes with everything you need to install the H IP right here on our website.
Today, we're going to walk you through each step so that you can get the most out of our flexible and time-saving connectors.

Step 1: Gather your products and tools. To properly install the H IP you need a few items that most technicians will have in their kit already:
- A 3 Hole Fiber Stripper
- A Cable Slit & Ring Tool
- A Pair of Wire & Kevlar Cutting Shears
- A 2.5mm Fiber Connector Cleaner
- A visual fault locator
- Fiber Optics Cleaning Wipes
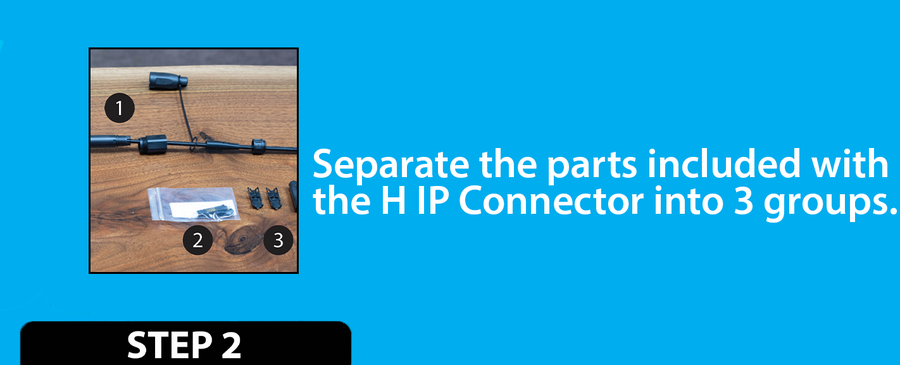
Step 2: Separate the parts included with the H IP Connector into 3 groups as specified in the picture above.
Group 1: Connector Nut, Boot, Tether, Coupler, External Housing, Crimp Ring
Group 2: Field Installable SC/APC Connector
Group 3: Internal Housing Assembly (Collar Clamps & Collar)
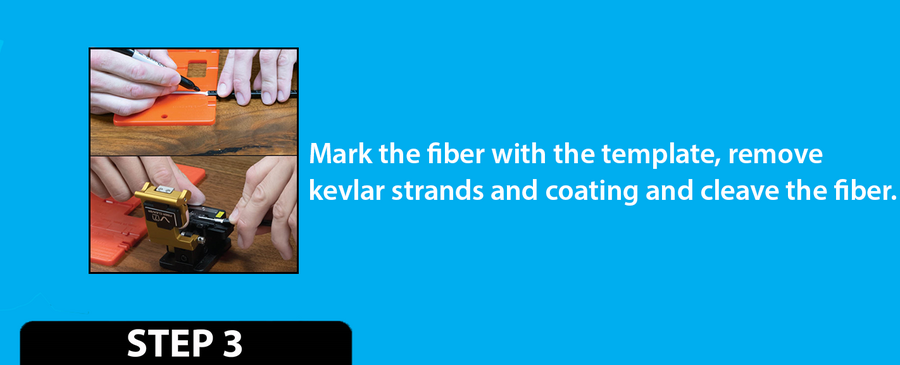
Step 3: Mark the fiber with the template, remove kevlar strands and coating and cleave the fiber.

Step 4: Test your connection and crimp the fiber.
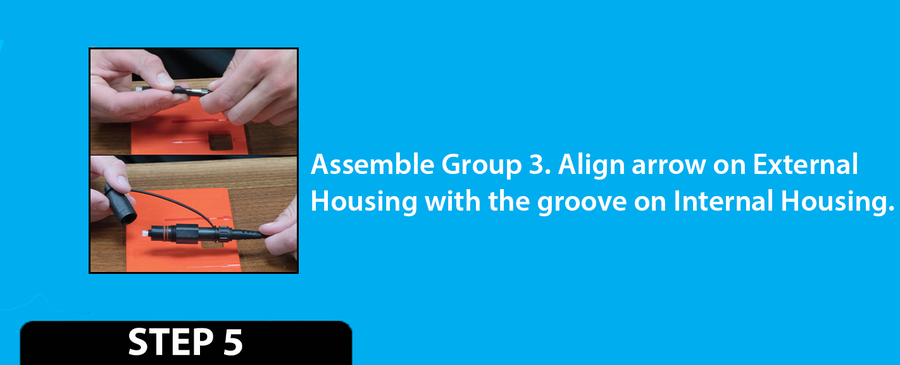
Step 5: Assemble Group 3 (Internal Housing Assembly). Align arrow on External Housing with the groove on Internal Housing. Slide External housing over Internal Housing Assembly. Slide the remaining parts from Group 1 onto External Housing and screw Connector Nut into place.
Also be sure to check out our animated step-by-step video walkthrough on how to install the H IP below:
Happy installing!
Back to Multilog
 440.366.6966
 440.366.6966