{{ quickViewProduct.product_title }}
Stock ID
{{ quickViewProduct.product_stock_number }}
Product Features:
- {{ feature.product_feature_description }}
{{ option.product_option_title }}
{{ value.product_option_value_title }}
{{ quickViewProduct.product_stock_number }}
{{ value.product_option_value_title }}
In the technological age, fiber optic cables are an essential component in data networking and communications. Our world relies on extensive cable networks to function, and the companies that maintain these cables are responsible for various precision processes — including fiber optic cable splicing. Understanding this process, approaches and best practices can help integrators achieve accurate and functional splices in a range of scenarios.
In short, fiber optic cable splicing is the act of joining two fiber optic cables. In instances where a single cable is not long enough for an application, splicing allows technicians to extend it for the required run. Splicing can also be helpful when fiber optic cables need restoration, or they've broken during an installation.
Cable splicing exists across industries. If a sector uses fiber optic cable, splicing likely makes an appearance. Some of these industries include:
Fiber optic cable splicing comes with risks, so it's essential to maintain proper safety practices to protect yourself and those around you. The Occupational Safety and Health Administration (OSHA) has various regulations about wiring methods that you can reference for the splicing process
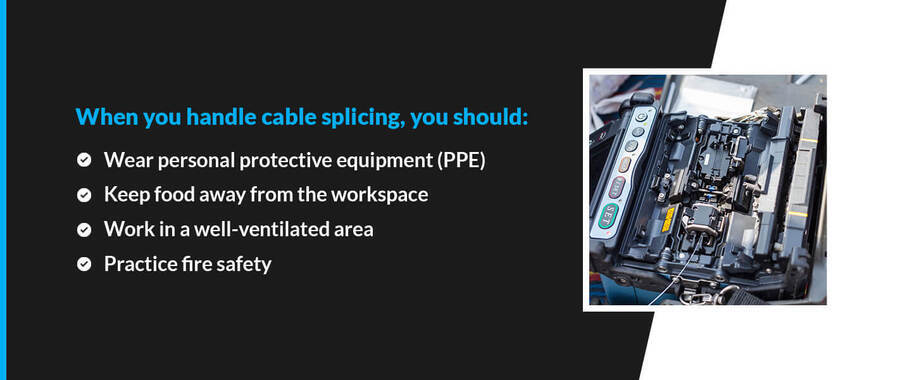
When you handle cable splicing, you should:
As fiber optic cable splicing becomes a more common practice, accurately performing the process becomes more accessible. As of now, you have two process approaches to choose from — mechanical splicing and fusion splicing.
Before approaching your installation, you should have a clear understanding of both methods. Understanding their steps and characteristics will help you determine which process is appropriate for your performance needs and pricing constraints.
In mechanical splicing, integrators create a junction of two or more optical fibers with a self-contained assembly. This self-contained assembly requires an alignment device and an index matching gel that fills in the air gaps between fibers. This gel needs to have a similar refractive index to the fibers to improve light transmission across the joint with low back reflection.
There are four key steps to mechanical splicing:
Fusion splicing uses an electric arc or specialized machine to fuse glass fiber ends together. When the ends are fused precisely, you create a reliable joint with near-zero back reflection and minimal insertion loss.
This process starts similarly to mechanical splicing with fiber preparation and cleaving. Fibers must be free of any protective coatings and cleanly cut before fusion splicing can begin. Using an isopropyl alcohol wipe will provide the cleanliness needed for smooth splicing. After these steps, you can work through the fusion process.
A fusion splice is typically performed with a fusion splicing machine. These machines have a space to place each cable and an electrode mechanism in the center that fuses the fibers together. Alignment is critical in these machines to ensure the weld is precise. Some machines will have an automatic alignment feature, while others require manual adjustments.
Fusion splicing equipment may stop the process if certain characteristics are not correct. Poor alignment, dirty fibers and cuts outside of 90 degrees may cause the splicer to stop. Once a fusion is successful, the splicing machine will report the estimated attenuation of your fused fibers.
Knowing that you have two different options to handle fiber optic cable splicing, you may want to know which one is the better option. When comparing the two processes, there are three factors to consider — performance, price and environment.
One of the most notable differences between mechanical and fusion splicing is their performance. Fusion splicing is a higher quality method that results in minimal loss and a permanent joint. Loss values are typically less than 0.05 dB. When a fusion splice is well-executed, it may not even register on an optical time domain reflector (OTDR), which is an ideal splice result.
Mechanical splicing doesn't physically join fibers together as the fusion method does. The closeness of the fibers allows them to function, but it often results in higher loss values. In an application where several splices are needed, these losses add up. The one performance factor that mechanical splicing has over fusion splicing is its compatibility with multi-mode fibers.
Another notable difference between the two methods is how much it costs to complete them. Since fusion splicing requires a specialized machine, the required costs can be much higher than a mechanical splice. While the stripping and cleaver tools will cost about the same for both approaches, the machines for fusion splicing can cost thousands of dollars to yield the best results.
Mechanical splicing offers far lower short-term costs, but many operations view fusion splicers as long-term investments. The precision creates a permanent bond between fibers, and once you've purchased the machine, you won't have to buy new components for every splice as you do with the mechanical method.
For most applications, fusion splicing is the method of choice because it's permanent. In scenarios where you need a reliable, long-lasting cable connection, fusion splicing provides that secure connection with minimal insertion loss and back reflection. In telecommunication networks and LANs, companies are willing to invest in fusion splicing for the necessary stability in these scenarios.
Depending on the circumstances, fusion splicing may not be the most accessible method. Mechanical splicing is preferred in moments where a quick or temporary fix is needed. In telecommunications, mechanical splicing may be the only option given the environment. If a broken cable is hard to access or in severe environmental conditions, technicians will use a mechanical splice to fix the network temporarily and perform a fusion splice when the time and environment allow it.
As fusion splicing technology improves, these machines become more compact and easy to use in more challenging circumstances. Fusion splicing will continue to become more widely accessible, but mechanical splicing is always an option when the situation demands it.
You should apply the “which is better?” question on a case-by-case basis to reap the benefits of both methods. Being prepared for either method can make your fiber optic cable repairs and extensions more flexible.
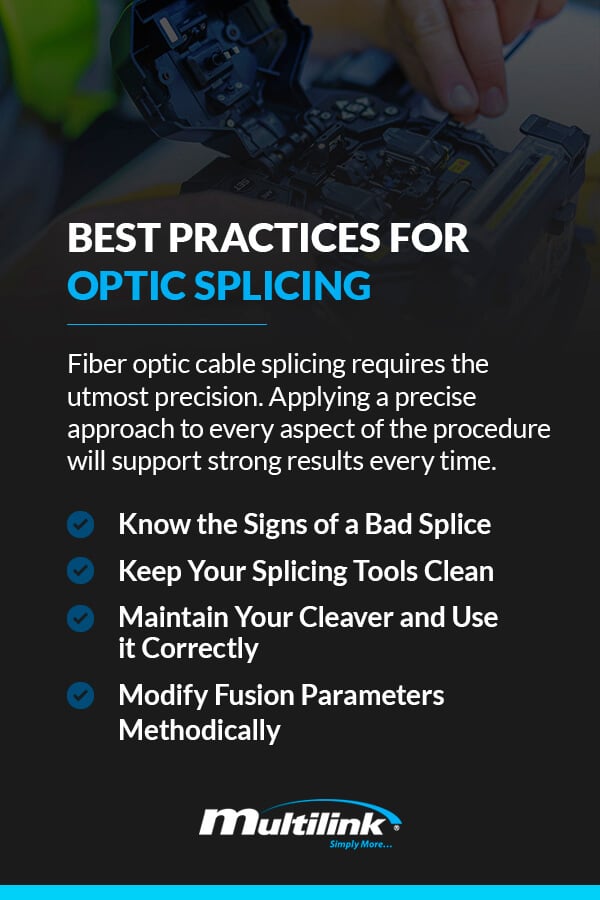
Now that you understand the basic steps in mechanical and fusion splicing, you can learn about some of the best practices to apply to the process. Fiber optic cable splicing requires the utmost precision. Applying a precise approach to every aspect of the procedure will support strong results every time.
The quality of your splice will affect how your cable performs in your application. Are there visual differences between a good splice and a bad one? Looking for the signs of a bad splice can tell you when you need to try again or work on your strategy. Signs of a bad splice include:
All of these signs can point to fibers that are poorly joined and unprepared to function. If you see any of these in your splice, redo the process. It's essential to note that splices should not be performed more than twice to protect the integrity of the fibers.
While these signs can signify undesirable performance, there are other physical features that are acceptable following a splice. After splicing, you may notice:
These physical characteristics may make you believe the splice was not precise enough, but they are all acceptable. Your splice is ready to perform, even with these features.
Fiber optics are microscopic, and many particles can disrupt performance even when they're not visible. Keeping all of your tools clean is vital for keeping unwanted particles out of the splicing process. Taking the time to meticulously clean your tools before and after a splice will make a huge difference in splice quality.
This cleanliness rule also applies to the stripping process before your splice. While you should clean your tools meticulously, cleaning your fibers closely will also support a secure and functional splice. There is no such thing as being too careful in the splicing process.
The cut you make to your fibers is a significant determinant of how well your splice will work. Mechanical splicing requires proper angles at end faces to prevent air gaps and excess light from escaping. A precise cut also helps you achieve high attenuation in a fusion splice. Maintaining and using your cleaver correctly will ensure a smooth process from start to finish.
Your cleaver manufacturer will include care instructions for your equipment, including how to sharpen and clean it. Follow through with this guide to make precise cuts for every splice.
In regard to fusion splicing, you need to handle your parameters with care. When using a fusion splicer, fusion time and current are the two parameters you'll adjust to join fibers. Finding the right parameters requires methodical adjustment. Change only one parameter at a time, and approach it with a strategy to reach the ideal figures for your fiber type.

Fiber optic cable processes are critical to industries like automotive, medical and telecommunications. Understanding the ins and outs of fiber optic cable splicing can improve the management of these cables and ensure reliable performance over time.
At Multilink, we understand the importance of accurate cable splicing and high-quality fiber optic cables. Among our telecommunication products, we carry fiber optic cable. We build our products according to industry specifications and standards. Every fiber optic cable product offers strength for long-term use and customization to fit your applications.
You can find a wide range of bundles, customization opportunities and durable telecom products at Multilink. Shop our fiber optic cable products today, and get in touch with us to learn more about our options.
Back to Multilog
 440.366.6966
 440.366.6966